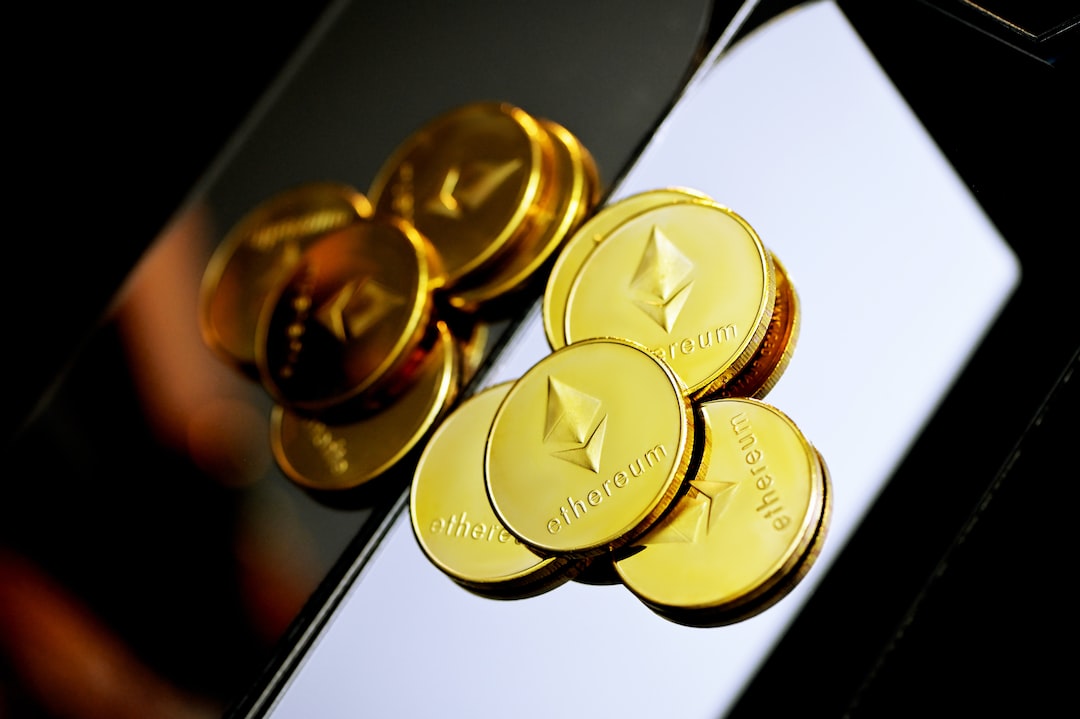
A Beginner’s Guide to Creating Your Own Token
Cryptocurrencies have taken the financial world by storm, and you may have heard of popular coins like Bitcoin and Ethereum. But did you know that you can create your very own cryptocurrency token? Yes, that’s right! In this guide, we will walk you through the process of creating your own token from scratch.
What is a Token?
Before we dive into the nitty-gritty of creating your own token, let’s first understand what a token is. In the world of cryptocurrencies, a token represents a digital asset or utility that is built on top of an existing blockchain network. These tokens can be used for various purposes such as accessing services, voting rights, or even as an investment.
Step 1: Define Your Token’s Purpose
The first step in creating your own token is to clearly define its purpose. Ask yourself what problem your token aims to solve or what value it brings to its users. It could be anything from a loyalty point system for your business or a fundraising tool for a project.
Step 2: Choose the Right Blockchain Platform
Once you have defined the purpose of your token, it’s time to choose the right blockchain platform to build it on. Ethereum is one of the most popular choices for token creation due to its robust smart contract capabilities. Other options include Binance Smart Chain and Tron.
Step 3: Design Your Token’s Specifications
Now comes the fun part – designing your token’s specifications. You will need to decide on important factors such as the total supply of tokens, whether it will be divisible or not, and if there will be any additional features like minting or burning tokens. Be sure to carefully consider these details as they will impact the functionality of your token.
Step 4: Write Smart Contracts
In order to create your token, you will need to write smart contracts. These are self-executing contracts with predefined rules and conditions that govern the behavior of your token. If you’re using Ethereum, you can write smart contracts using Solidity, a programming language specifically designed for Ethereum’s blockchain.
Step 5: Test Your Token
Before launching your token into the real world, it’s crucial to thoroughly test it on a testnet. A testnet is a separate network specifically designed for developers to experiment and ensure that their tokens function as intended. This step helps identify any bugs or vulnerabilities that could potentially affect your token’s performance.
Step 6: Deploy Your Token
Once you are confident in the functionality and security of your token, it’s time to deploy it on the mainnet. Deploying your token means making it accessible on the actual blockchain network for users to interact with. This step requires some technical expertise, so you may consider seeking assistance from blockchain development experts if needed.
Frequently Asked Questions (FAQs)
A: While having coding skills can be beneficial, there are user-friendly platforms and tools available that simplify the process of creating tokens without extensive programming knowledge.
A: The cost of creating a token can vary depending on factors such as the blockchain platform used, complexity of smart contracts, and additional features. It’s important to research and budget accordingly.
A: Yes, you can update the specifications of your token even after it’s deployed. However, certain changes may require additional steps such as executing a token swap or migrating to a new smart contract.
A: Promoting your token requires effective marketing strategies. Utilize social media platforms, engage with relevant communities, and consider partnering with influencers to create awareness about your token.
Creating your own cryptocurrency token is an exciting endeavor that allows you to explore the world of blockchain technology. By following these steps and considering the FAQs, you’ll be well on your way to bringing your unique token to life!


 By
By
 By
By

 By
By
 By
By